The "Interface editor" component is used to create interfaces that users will interact with in the course of their work with project templates at media display points.
The term "interface" refers to one or more screens (stages) that contain interactive elements (layers) for data representation and user interaction. Layers can be interlinked with each other and other components of the project.
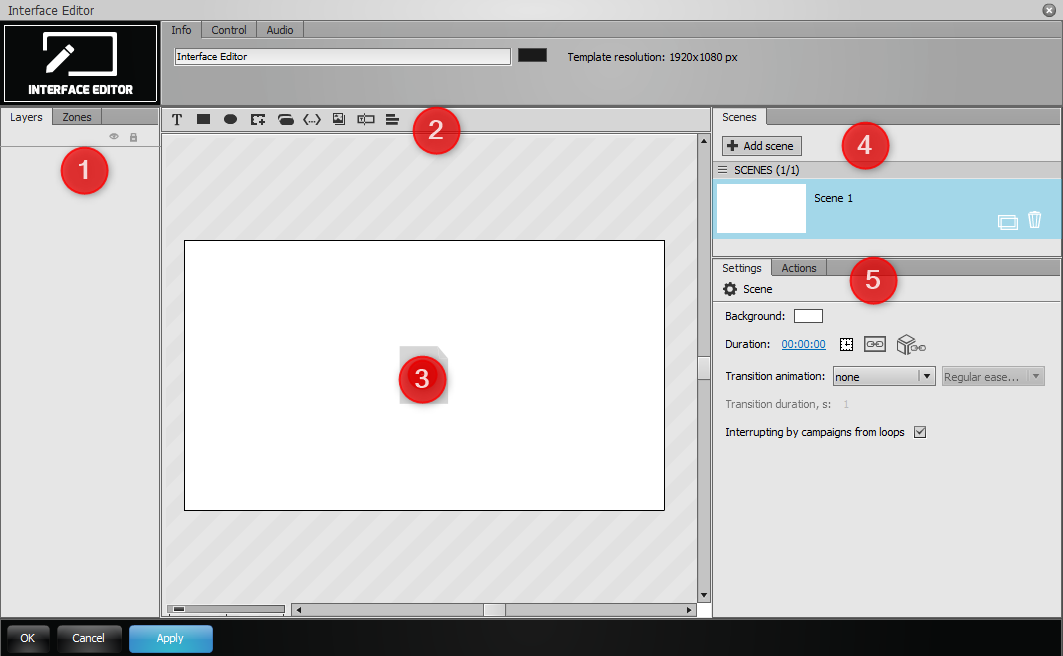
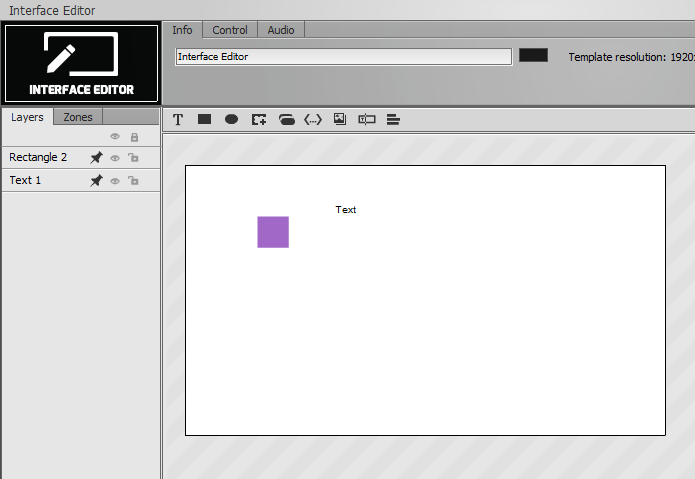
The component editor includes:
- Layers panel for representation and adjustment of all elements used on the screen, Zones panel for setting up video walls.
- Buttons for adding new layers;
- Main workspace for interface creation;
- Stage panel for management of interface screens;
- Properties panel;
To add a new scene:
- Click the "Add scene" button.
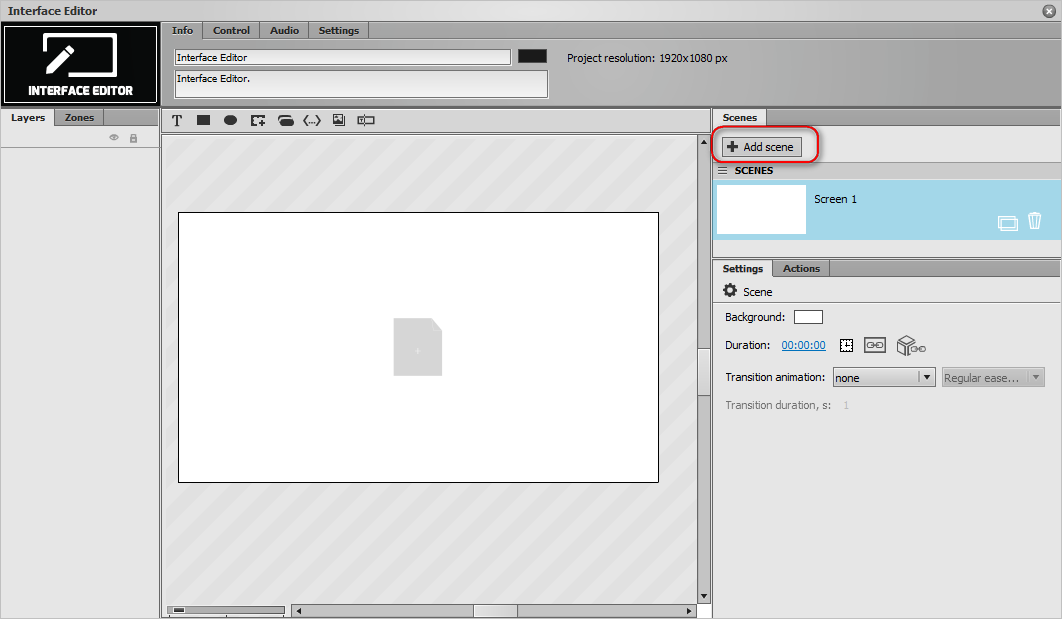
- A new screen will be added to the Stages panel.
- Click "Apply" or "OK" to save the changes made.
To rename a scene, double-click on its name in the Stages panel, then type the new value.
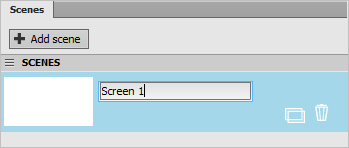
Click "Apply" or "OK" to save the changes made.
To adjust the scene background color:
- Select the scene in the Stages panel.
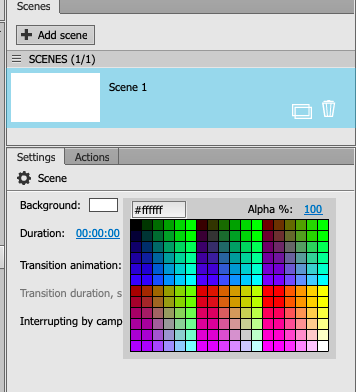
- In the "Settings" tab, click "Background" and select the desired color.
- The screen background will be changed accordingly.
- Click "Apply" or "OK" to save the changes made.
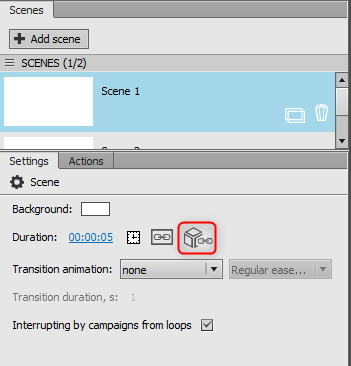
This component enables you to set a period of time, upon expiration of which the current scene will be automatically switched for another scene of the same component or another component of the project.
Before setting up, the screen or component to be switched to shall be added.
Turning switching to a different screen (stage) on:
- Select the scene in the Stages panel.
- In the "Settings" tab, specify in the "Duration" field the amount of time, upon expiration of which the scene shall be changed.
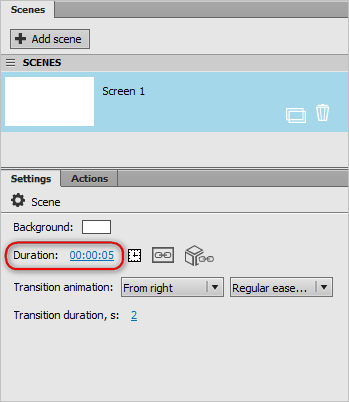
- Press the link adding button and select the scene that you would like to switch to.
- Automatic switching will be activated.
- Click "Apply" or "OK" to save the changes made.
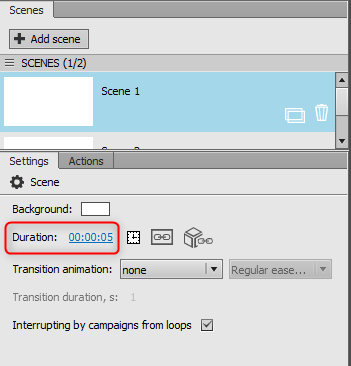
Turning switching to a different scene (stage) off
- In the "Duration" field, specify the "0" value.
- Press the link adding button and select the value none "none".
- The setting will be turned off.
- Click "Apply" or "OK" to save the changes made.
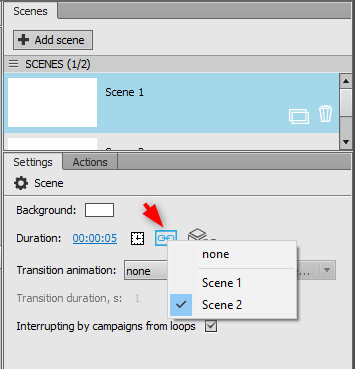
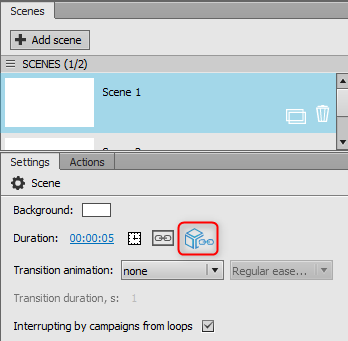
Turning switching to a different component on
- Select the scene in the Stages panel.
- In the "Settings" tab, specify in the "Duration" field the amount of time, upon expiration of which the scene shall be changed.
- Click the button that adds link to a component and select the component that you would like to switch to.
- Automatic switching will be activated.
- Click "Apply" or "OK" to save the changes made.
Turning switching to a different component off
- In the "Duration" field, specify the "0" value.
- Click the button that adds link to a component.
- On the desktop that opens click on the button that removes link to a component.
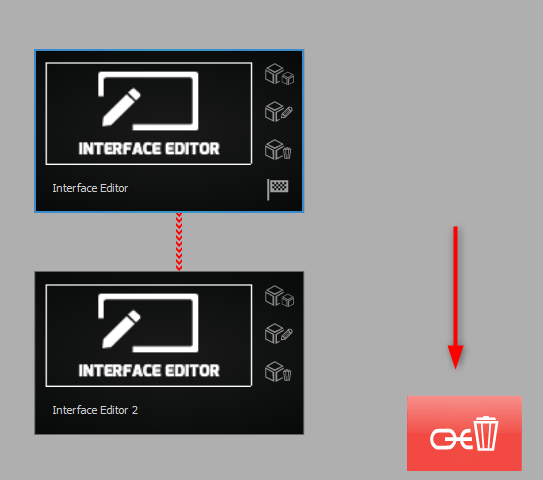
- The setting will be turned off.
- Click "Apply" or "OK" to save the changes made.
To set entrance animation effects for a scene:
- Select the scene that you want to animate in the Stages panel.
- In the "Settings" tab, select one of the available values in the first field "Transition animation":
- none – no animation;
- From left – the scene appears from left to right;
- From right – the scene appears from right to left;
- From top – the scene appears from the top down;
- From bottom – the scene appears from the bottom up;
- Fade.

3. In the second field "Transition animation", select one of the available screen entrance animation effects:
- Back easeOut;
- Bounce easeOut;
- Elastic easeOut;
- Linear easeOut;
- Regular easeOut;
- Strong easeOut.
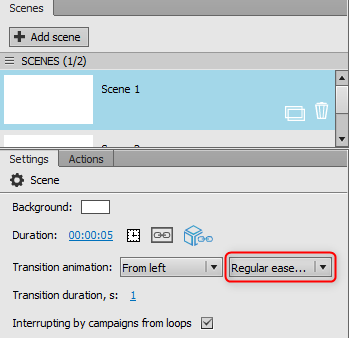
4. In the field "Transition duration" indicate the duration of animation in seconds.
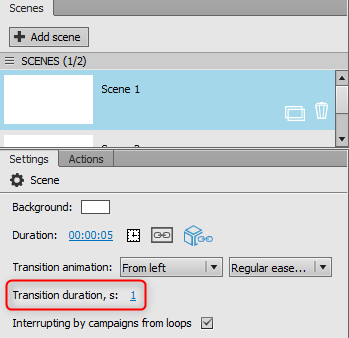
Animation will be set up.
5. Click "Apply" or "OK" to save the changes made.
Changing or disabling animation effects is done similarly to the process described above.
Interface editor enables reordering of interface scenes.
To change the order of scenes, drag a scene in the Stages panel to the desired position. The order will be changed. Click "Apply" or "OK" to save the changes made.
To copy a scene:
- Select the scene in the Stages panel.
- Click the "Copy" button.
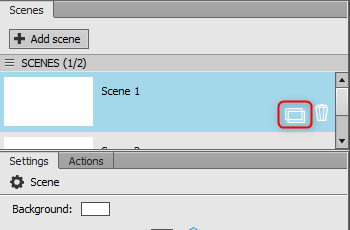
- The scene will be copied together with all its settings and elements.
- Click "Apply" or "OK" to save the changes made.
To remove a scene:
- Select the scene in the Stages panel.
- Click the removal button.
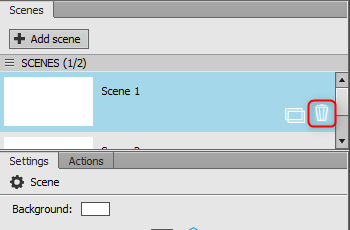
- The screen will be removed.
- Click "Apply" or "OK" to save the changes made.
Available layers:
- text content;
- graphic primitives (balloon, bar);
- media content (media layer, TV tuner, camera image, live streaming, successive animation);
- button;
- web frame;
- media gallery;
- text input field;
- mediaplan catalog.
To add a layer, click a corresponding button.
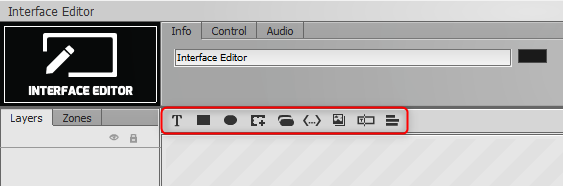
Layer will be added to the main workspace of the selected screen. Contents of the Layers panel will be updated.
Interface editor enables import of layers from files created in Adobe Photoshop CC and Illustrator CC that have been saved in compatibility mode.
Import preserves properties of graphics – the latter is transferred in the form identical to the source, preserving layer ordering and coordinates.
To import layers from Photoshop or Illustrator:
- Select the scene you need in the Stages panel.

- Drag the imported PSD- or AI-file from OS folder into the component’s main workspace.
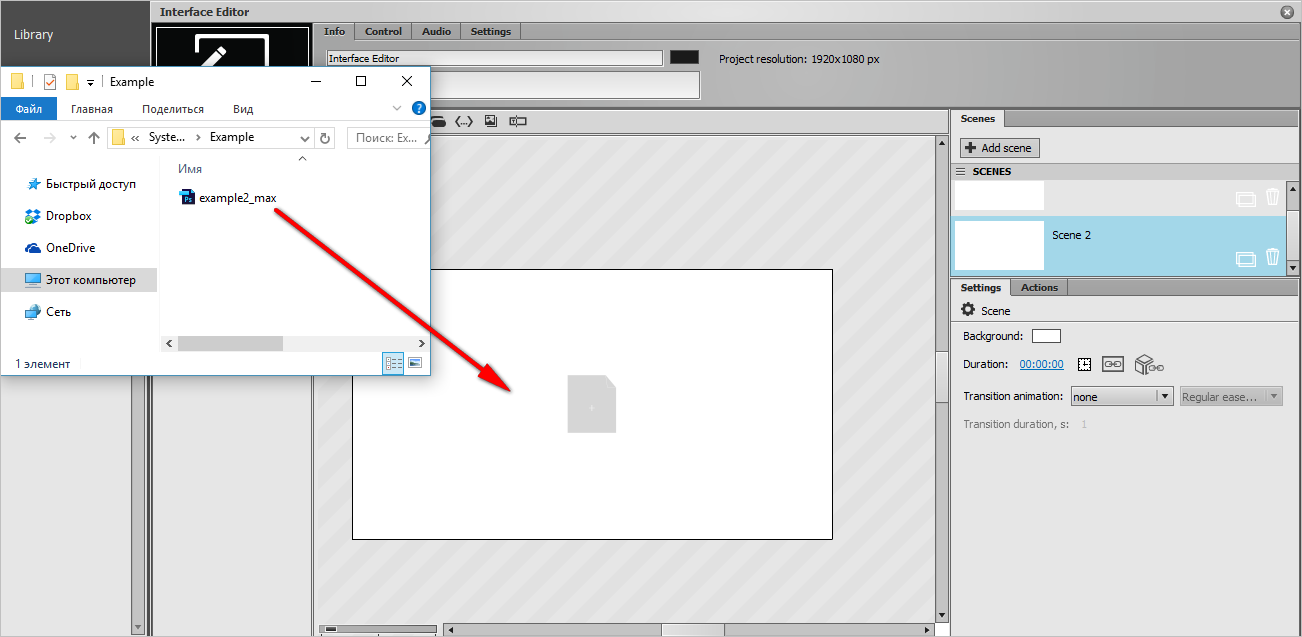
- If you need to import inscriptions as text layers rather than images (media layer), check the box "Import all texts as text layers" in the new window. To import layers, use the "Import" button.
- Layers will be imported to the specified scene and available for adjustment.
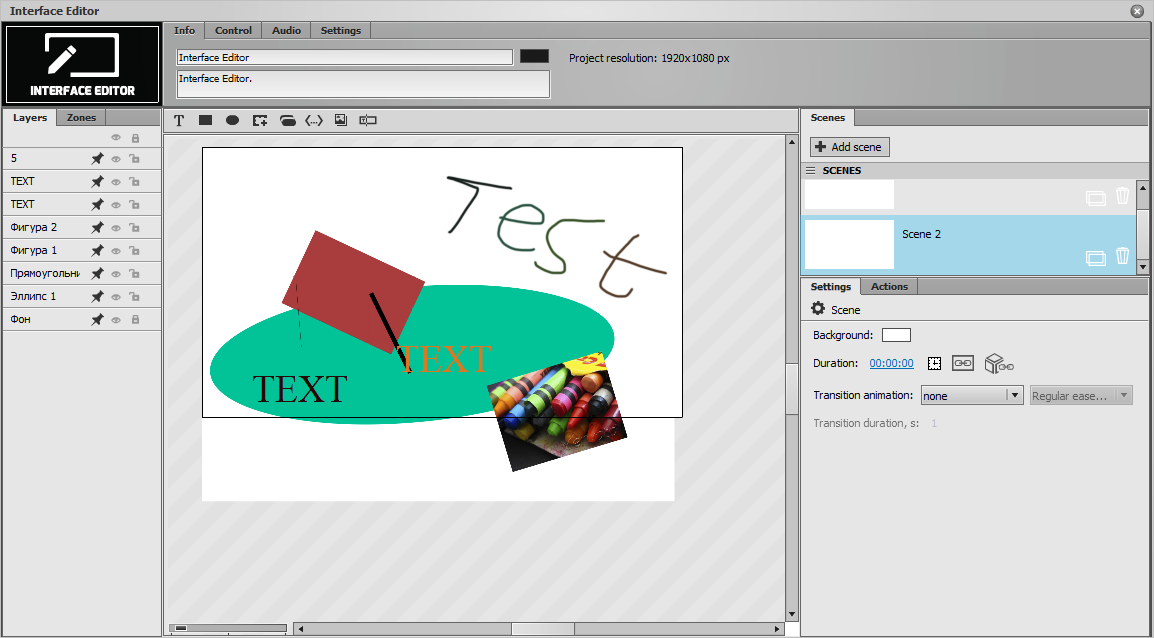
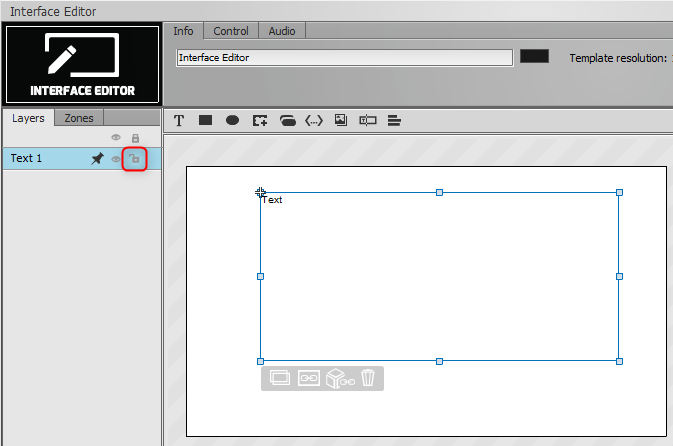
Each layer contains properties that are used to adjust its appearance, functioning, and contents. Layer adjustment uses the Layers panel and the Properties panel.
A layer can be placed on one or more interface screens. Placement can be selected:
- from the Layers panel;
- from the Properties panel.
To place a layer:
- Select layer in the Layers panel or in the main workspace.

- Click the screen selection button.
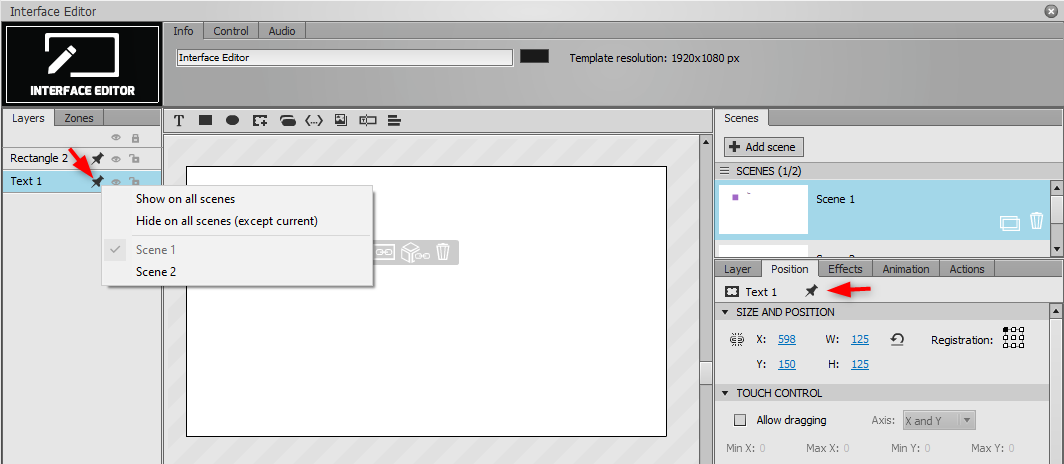
- Check those sccenes on which the layer shall be present. To place the layer on all scenes, select "Show on all scenes".
- The layer will be placed on the selected scenes. When a layer is placed over several scenes, changes to layer settings on one scene will result in identical changes on other scenes where this layer is placed.
- Click "Apply" or "OK" to save the changes made.
To adjust layer visibiity:
- Select layer in the Layers panel or in the main workspace.
- In the Layers panel, click on the visibility setting button.
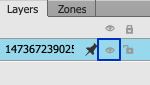
- Layer visibility will be adjusted.
- To adjust visibility of all layers simultaneously, click the visibility adjustment button located above the list.
- Click "Apply" or "OK" to save the changes made.
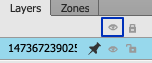
To lock or unlock a layer for editing:
- Select layer in the Layers panel or in the main workspace.
- In the Layers panel, click on the lock button.
- The layer will be (un)locked for editing.
- To simultaneously toggle availability of all layers for editing, click on the lock button located above the list.

- Click "Apply" or "OK" to save the changes made.
Layer size and position settings include:
- the button that toggles uniform size scaling;
- fields "W" and "H" – width and height;
- fields X and Y – layer coordinates on screen (stage);
- the button that sets default layer size (for all layer except graphic primitives and web frames);
- "Registration" field – layer coordinate reference point, point zero for screen coordinates specified in fields X and Y.
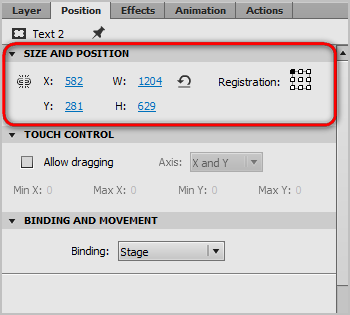
To adjust layer size and position settings, open the "Position" tab in the Properties panel and make the required changes in the "Size and position" tab. Click "Apply" or "OK" to save the changes made.
To set layer binding:
- Open the "Position" tab in the Properties panel, then the "Binding and movement" section.
- In the "Binding" field, select one of the available values:
- Stage – layer position is bound to scene;
- Cursor – layer position is bound to the cursor position;
- Container – layer position is bound to another layer of the screen.
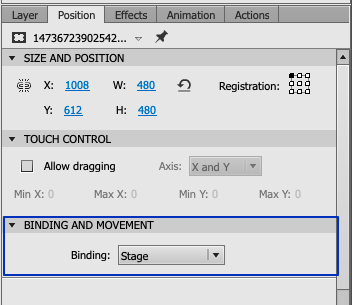
- If the value "Container" has been selected in the "Binding" field, use the "Container" field to select the layer to which the current one shall be bound.
- Layer binding will be set.
- Click "Apply" or "OK" to save the changes made.
Available effects:
- Custom effects (effects based on one of the below-listed effects with the required settings);
- Shake;
- Scaling;
- Glittering;
- Smoke;
- 3D Rotation;
- Shadow;
- Blur;
- Border;
- Bevel;
- Sepia;
- Grayscale;
- Recolour;
- Glow;
- Adjust color;
- Tint;
- Pixelate.
To add a layer effect:
- In the properties panel, open the "Effects" tab.
- Click on the effect adding button and select the required effect.
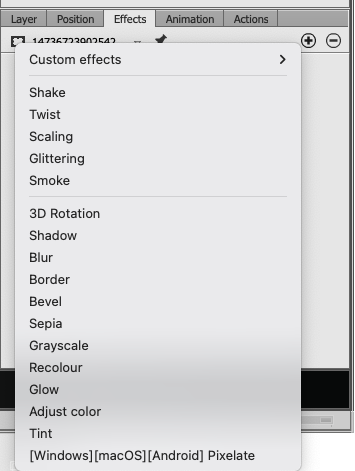
- Make changes to effect settings.

- To remove an effect, use the dedicated button.

- Click "Apply" or "OK" to save the changes made.
To adjust layer animation settings:
- In the properties panel, open the "Animation" tab.
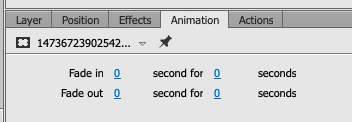
- In the fields "Fade in" and "seconds for" specify (in seconds) when the layer should appear and how long it shall take.
- In the fields "Fade in" and "seconds for" specify (in seconds) when the layer should disappear and how long it shall take.
- Layer animation will be set up.
- Click "Apply" or "OK" to save the changes made.
Comments
0 comments
Please sign in to leave a comment.