The "Scheduler" controller is used to launch template components according to pre-defined schedule.
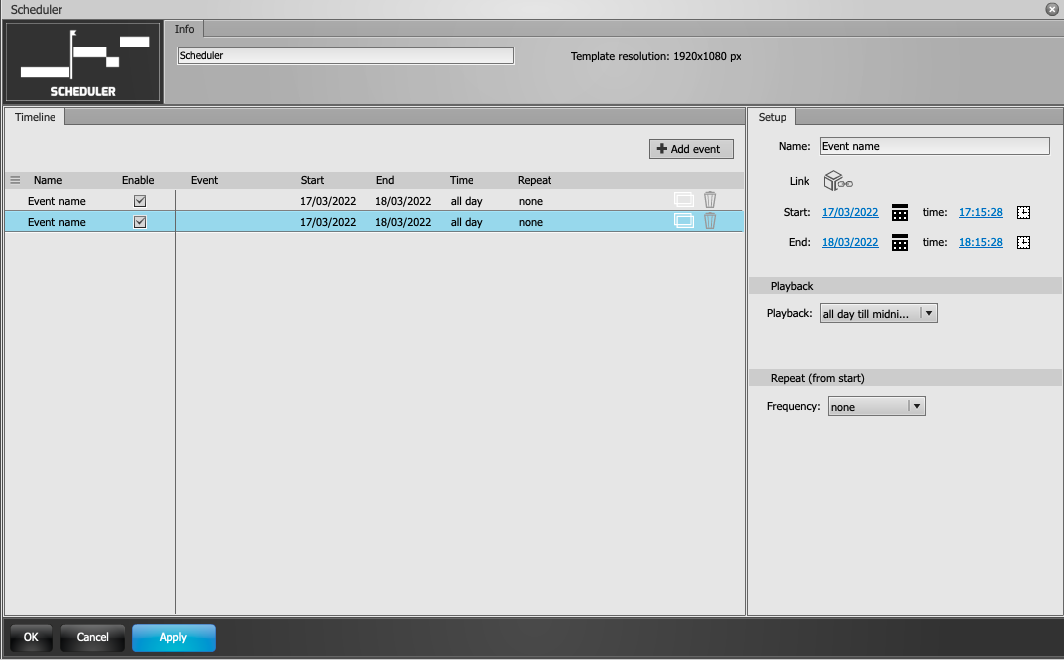
To add an event:
- Click "Add event".
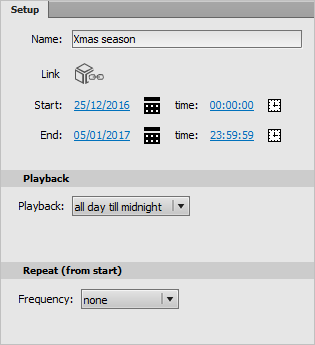
- In the Properties panel, enter the event name into the "Name" field.
- In the "Link" field, select the template component that will be launched at the specified date and time.
- In the fields "Start", "End", and "time", enter the beginning and ending date and time of the event.
- In the "Playback" field, select duration of activation for the component launched according to schedule:
- All day till midnight;
- duration – specified duration;
- interval – specified interval.
- If "Duration" has been selected in the "Playback" field, indicate duration of the component’s operation in the "Duration" field.
- If "Interval" has been selected in the "Playback" field, enter into the "Start time" and "End time" fields the interval of the component’s operation.
- In the "Frequency" field, select the frequency of repeating the event since the moment of start:
- none – no repeating;
- Secondly – every second;
- Minutely – every minute;
- Hourly – every hour;
- Daily – every day;
- Weekly – every week;
- Monthly – every month;
- Yearly – every year.
- The event will be added.
- Click "Apply" or "OK" to save the changes made.
Event can be changed in the way similar to the process described above.
To copy an event, click on the "Copy" button in the corresponding row.
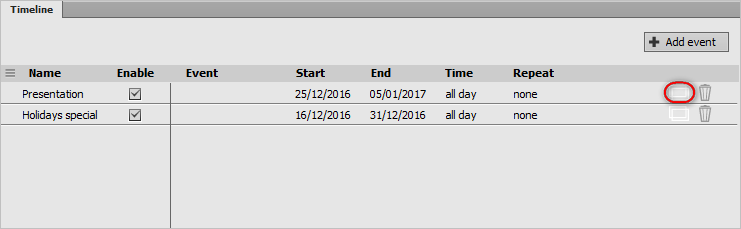
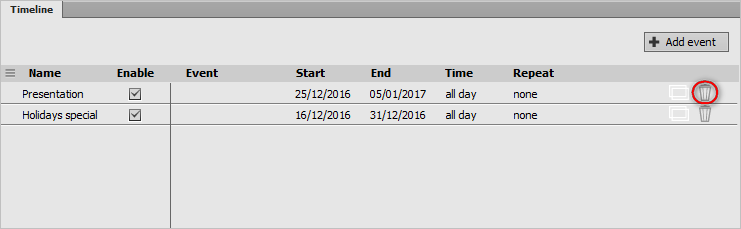
To remove an event, click on the "Delete" button in the corresponding row.
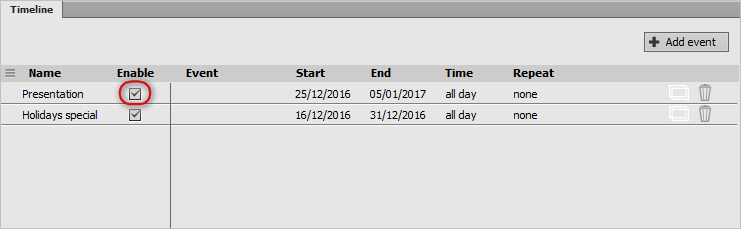
To turn an event on or off, (un)check the "Enable" field in the corresponding row.
Comments
0 comments
Please sign in to leave a comment.